MiniOne Classroom
How to Use Your MiniOne Electrophoresis System
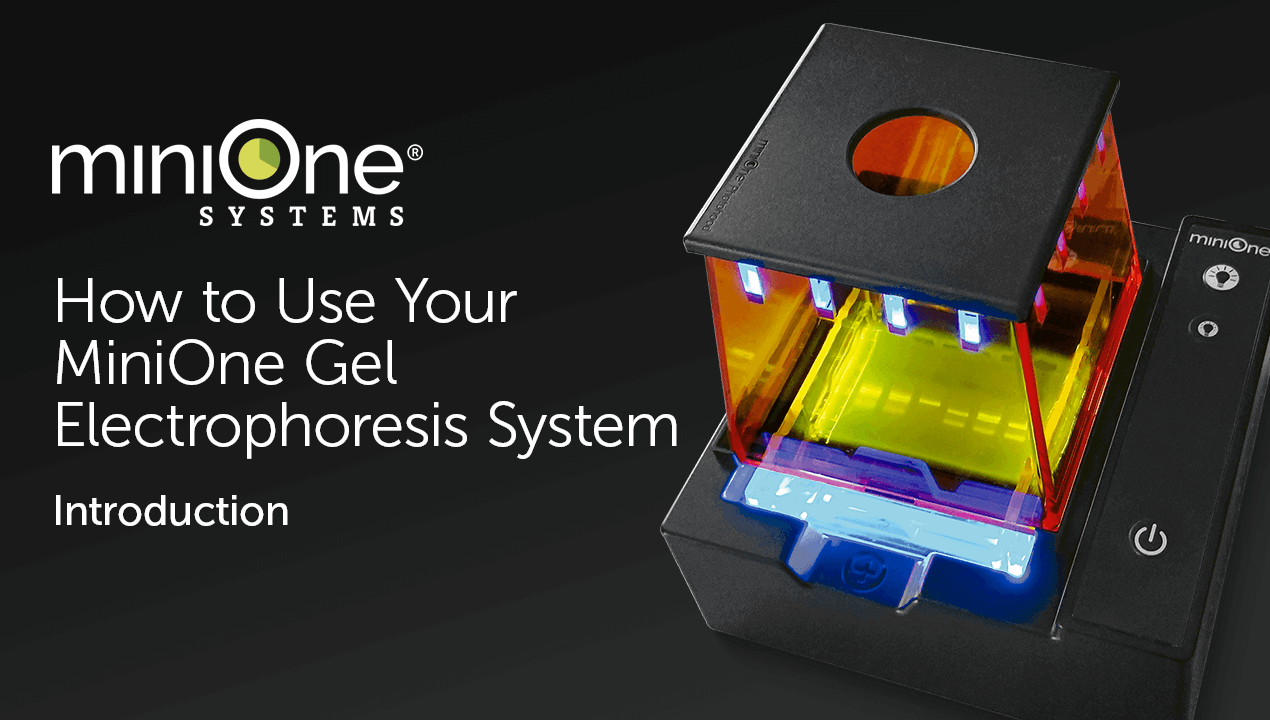
Lesson #0
Introduction
Traditional electrophoresis equipment is difficult to use and takes to long it takes. The MiniOne Electrophoresis System solves both of those problems.

Lesson #1
Gel Pouring
The first step is to pour the MiniOne Gel into the casting tray. The Gel cups come pre-measured, contains Agarose, and GreenGel stain. The Gel cups take 20 seconds to microwave. The casting tray allows for two gels simultaneously.
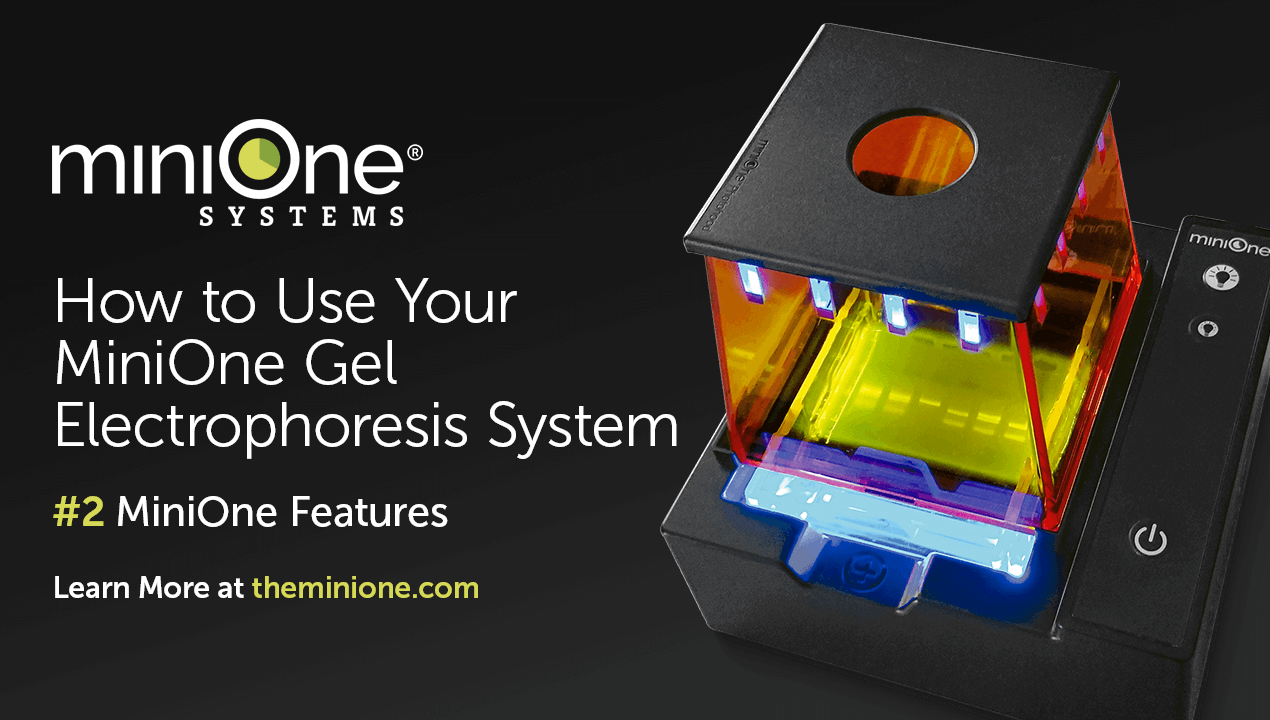
Lesson #2
Features
The MiniOne Electrophoresis System includes the gel box with a platform to place the gel and electrodes. The gel box is design to easily place into the carriage unit. For safety, the power button only works when photo hood is placed on the base.

Lesson #3
Gel Loading and Setting Up the Tank
Once the gel has set, we can place the casting tray with the gel inside the carriage unit and add the buffer. Next, with the low light turned on, we can use the MiniOne Micropipette to load the DNA samples.
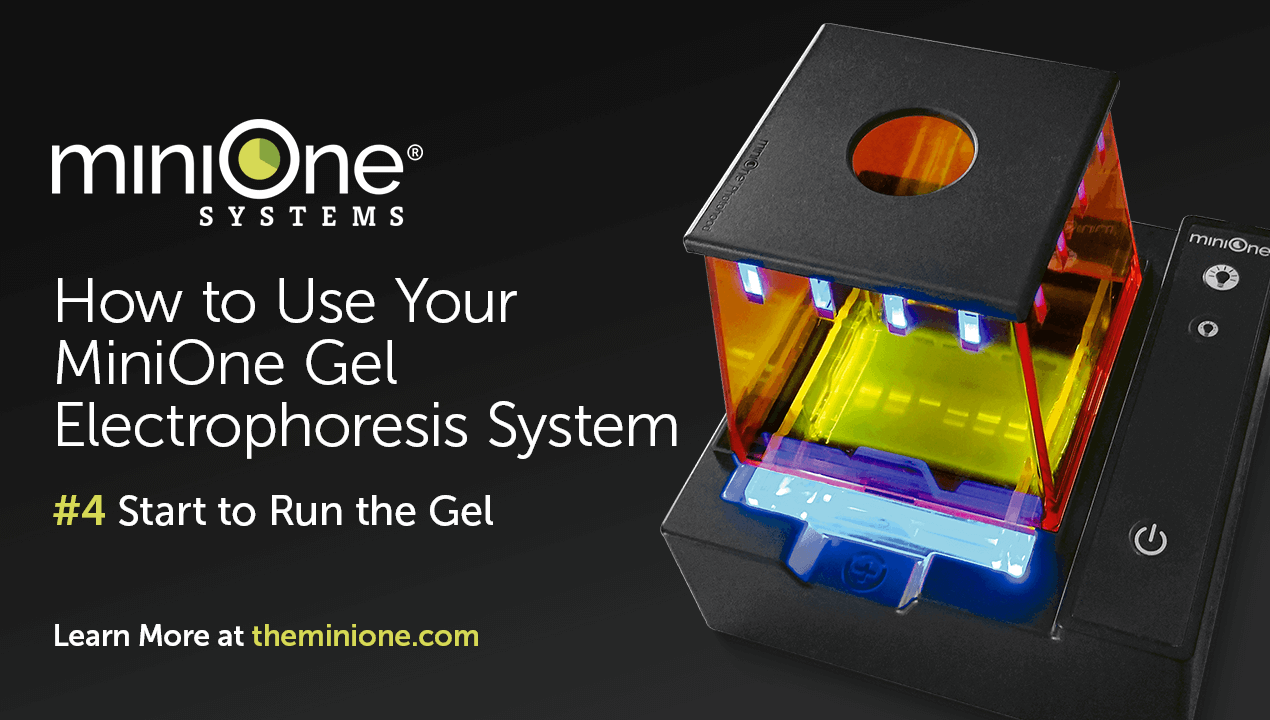
Lesson #4
Start to Run the Gel
With the gel poured and loaded, we can now place the photo hood on to the base and turn on the power. We will run the gel for 20 to 25 minutes. So that we don’t photo bleach the DNA sample, we can turn off the light and continue checkin on the progress.

Lesson #5
Visualize and Document the Gel
After the gel has run for about 15 minutes, we can turn on the blue light and use a smartphone camera to take a photo through the top of the photo hood and document the DNA’s progress.
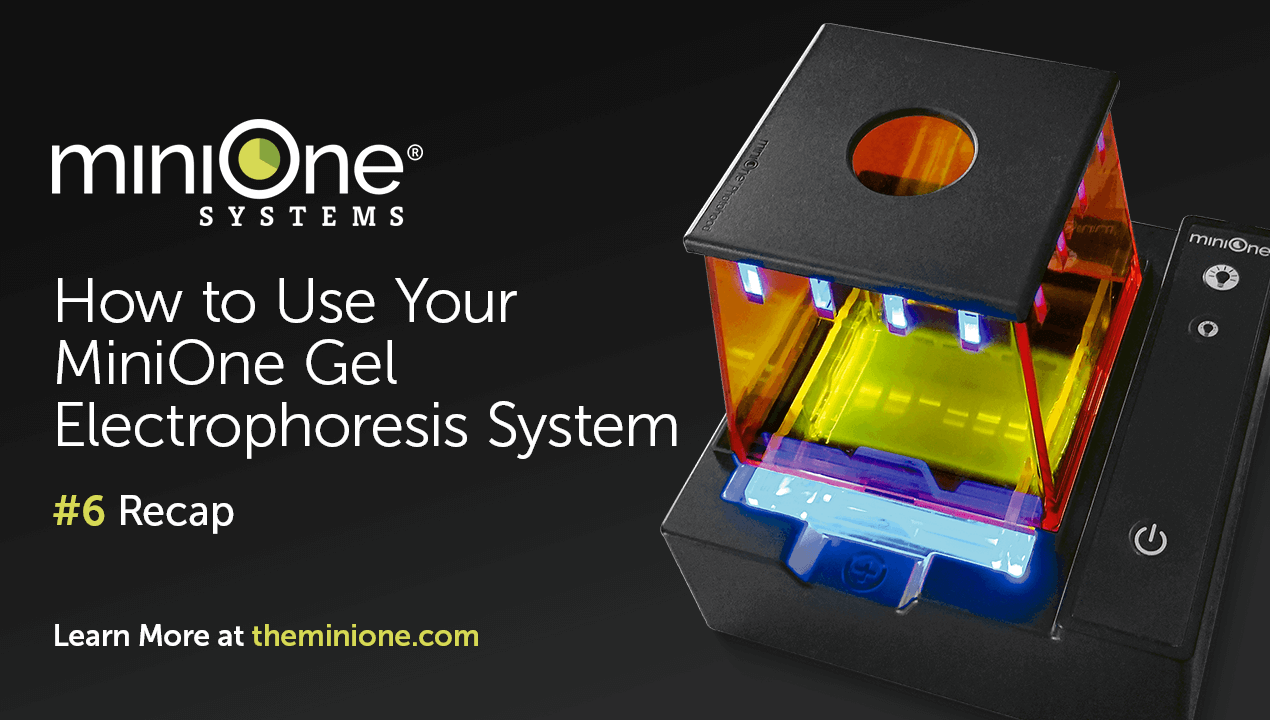
Lesson #6
Recap
Within less than 40 minutes, we’ve completed our gel, documented the progress multiple times, and have been able to review and analyze the data.
MiniOne MiniLabs
Complete lab kits for hands-on learning.