This Science at Home post is guest-written by Dr. Terri Quenzer, PhD. She is the statewide director of Life Sciences/Biotech at California Community Colleges, and is hosted at San Diego Miramar College. Thanks for sharing your experience and tips, Terri!
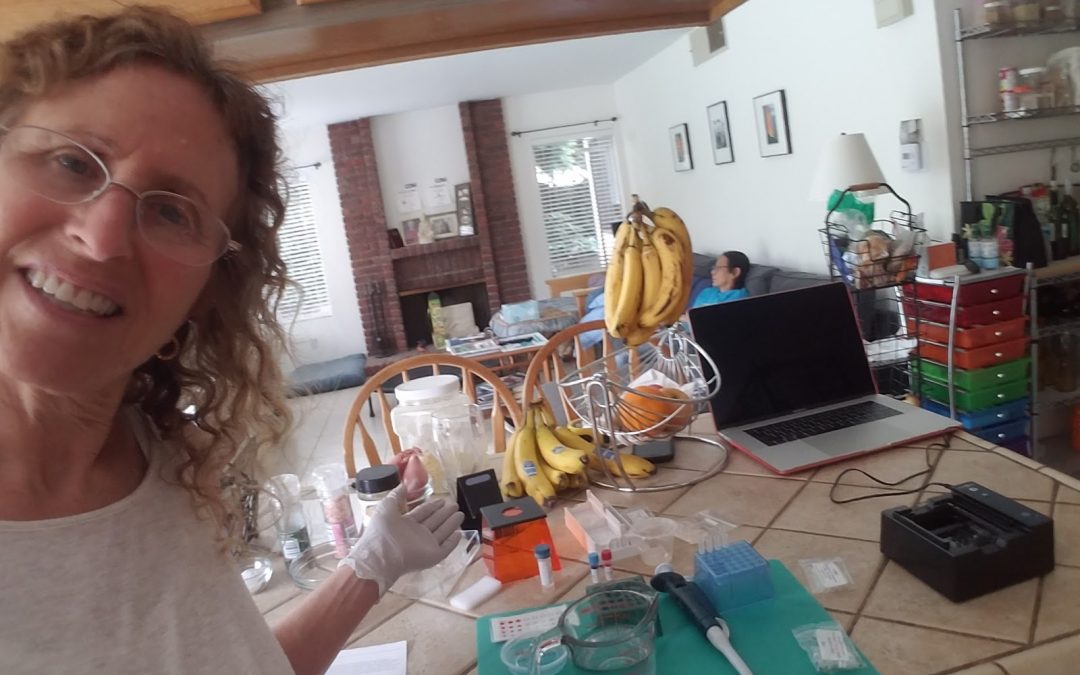
I love opportunities to work in the lab, especially now that I no longer work in a lab. Even better when the lab is my kitchen. Normally by that, I’m talking about food. But this time, my kitchen actually became a lab to do science. I got to be a tester and had the honor of testing the very first EmbiTec DNA Fingerprinting MiniLab for Home.
I received a box from EmbiTec that contained a hard case including most everything needed to run a Gel Loading Practice MiniLab and a DNA Fingerprinting MiniLab. The casehoused a complete MiniOne Electrophoresis System, casting system for two gels, black carriage with buttons and running tank, and a 2 – 20 ul adjustable volume micropipette.
In addition, the kit included a pipette tip rack, a tube rack, pipette tips, running buffer concentrate, 5 DNA samples, a GreenGel cup to make one gel plus a ziplock bag of GreenGel pieces just in case, a practice loading target sheet and a gel practice loading agar plate with 3 rows of wells, and a tube each of blue and red loading solutions.
In reading ahead through both Minilabs, I noticed that I would need deionized or distilled water to dilute the buffer to run the gel in the MiniOne. I didn’t have distilled water, and being under the coronavirus lockdown, I didn’t want to make a noncritical run to the store. So my options were either to use tap water or to make my own distilled water. I opted for the latter. I placed a small pot on a rack inside a large pot and filled the large about ⅔ full with tap water, keeping the small, inner pot dry on the inside. It turned out that the inner pot floated on top of the tap water, so I didn’t really need the rack. I placed the lid upside down over the large pot with the metal handle pointed down into the small pot to cause condensation to drip into the small pot. I brought the water to a boil and added ice to the top of the lid to enhance condensation. It took about 20-30 minutes to collect ~ 1 cup of distilled water.
For Terri’s detailed instructions with photos on how to make your own distilled water at home, read this blog post!
While waiting for the distilled water, I began with the Gel Loading Practice Minilab. I did every activity: I set the micropipette to assigned volumes, loaded each volume onto a practice loading target, and loaded dyes into the gel practice loading agar plate.
Then I moved on to the DNA Fingerprinting Minilab. The purpose of this lab was to use DNA to identify the father of Luna the whale. I had DNA from Luna, Luna’s Mom, and from three male whales that were associated with Luna. One of those three whales was believed to be Luna’s father. Bands from each DNA sample would be separated by gel electrophoresis and then compared to identify a match to Luna’s DNA.
To pour the gel, I placed the cup with the GreenGel pieces in the microwave oven for 20 seconds, allowed it to cool for a few seconds, then poured the melted gel into the left side of the casting tray. I thought I had air bubbles that could interfere with running the gel, so was relieved that there was a backup baggie with extra GreenGel pieces. I placed those gel pieces into the cup, melted them in the microwave oven, and poured the liquid into the right side of the casting tray, placed the 6-hole side of the casting comb into the liquid, and waited for the gel to set.
While waiting for the gels to set, I placed the black carriage into the MiniOne running tank and diluted the running buffer with ½ cup of distilled water.
When the gel was set, I removed the comb, placed the tray with the gel from the right side into the carriage, and added the buffer, being sure to force out any bubbles beneath the gel. I turned on the low light and loaded the DNA samples. The UV light was really cool because it made it easy to see the wells in the gel to load the samples. The DNA samples from left to right were Luna, Luna’s Mom, then the male whales A-C.
I placed the photo hood over the running tank with the power on, and let it run for 25 minutes, checking every 5 minutes. It was fun to watch the negatively-charged DNA bands advance toward the positive electrode. And the photo hood allows you to easily get great photos using a cell phone.
Whale A appears to be the best DNA match to Luna’s DNA, with four matching bands. The other two male whales (B & C) had fewer matching DNA bands.
I thought this was a great kit for home use. It gets real lab equipment into students’ hands for practice, it’s very reasonable for students to do on their own, and the waste is disposable in kitchen sinks and trash bins.
Thanks for the experience doing science at home, MiniOne! Let me know when the next Minilab kit is ready!


